
Last updated November 15, 2026
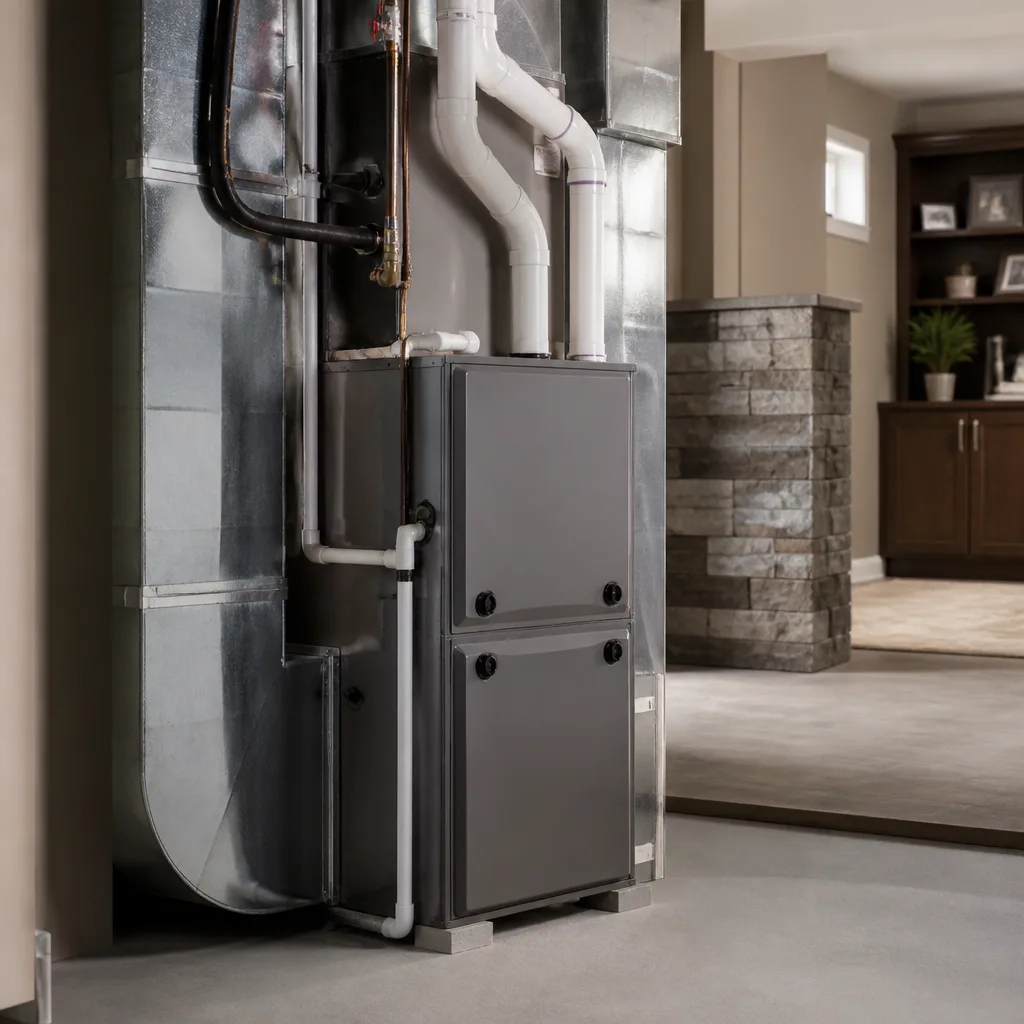 Furnace & heating
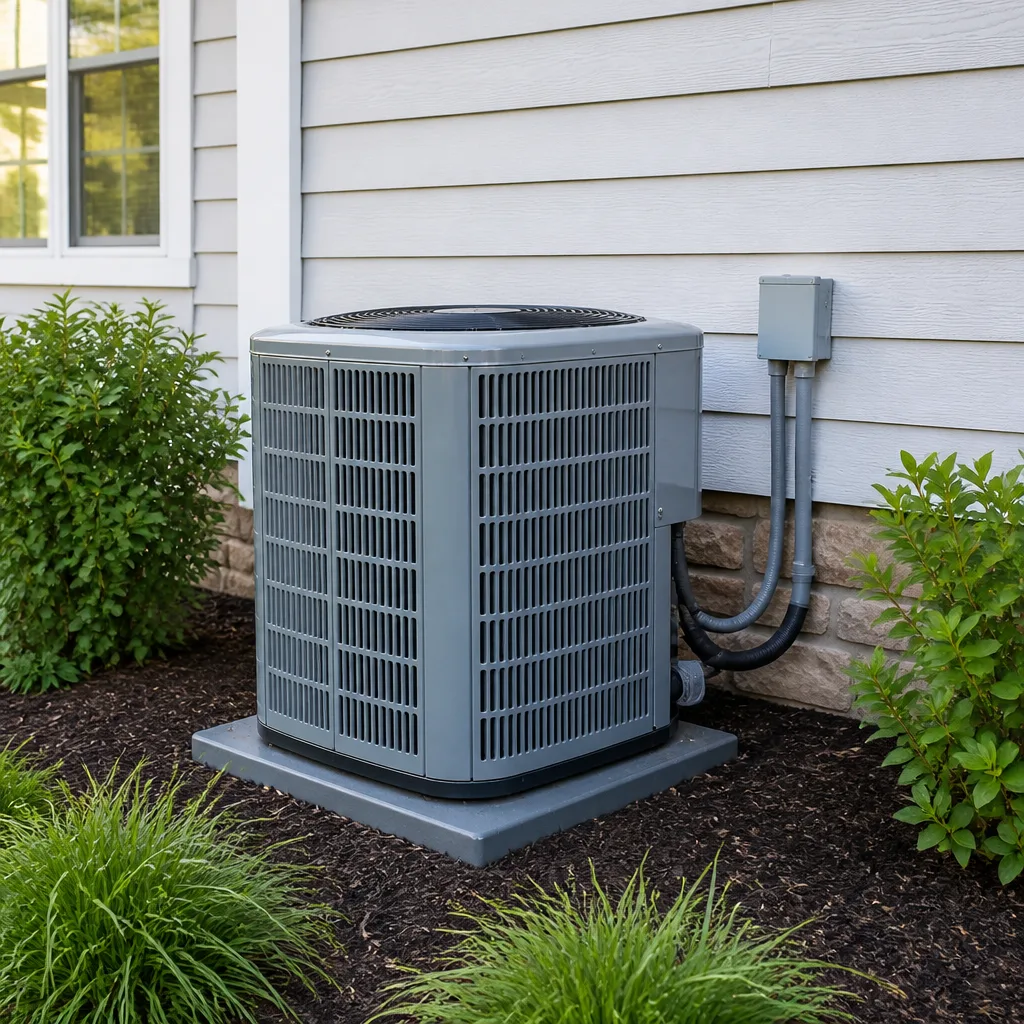 AC repair
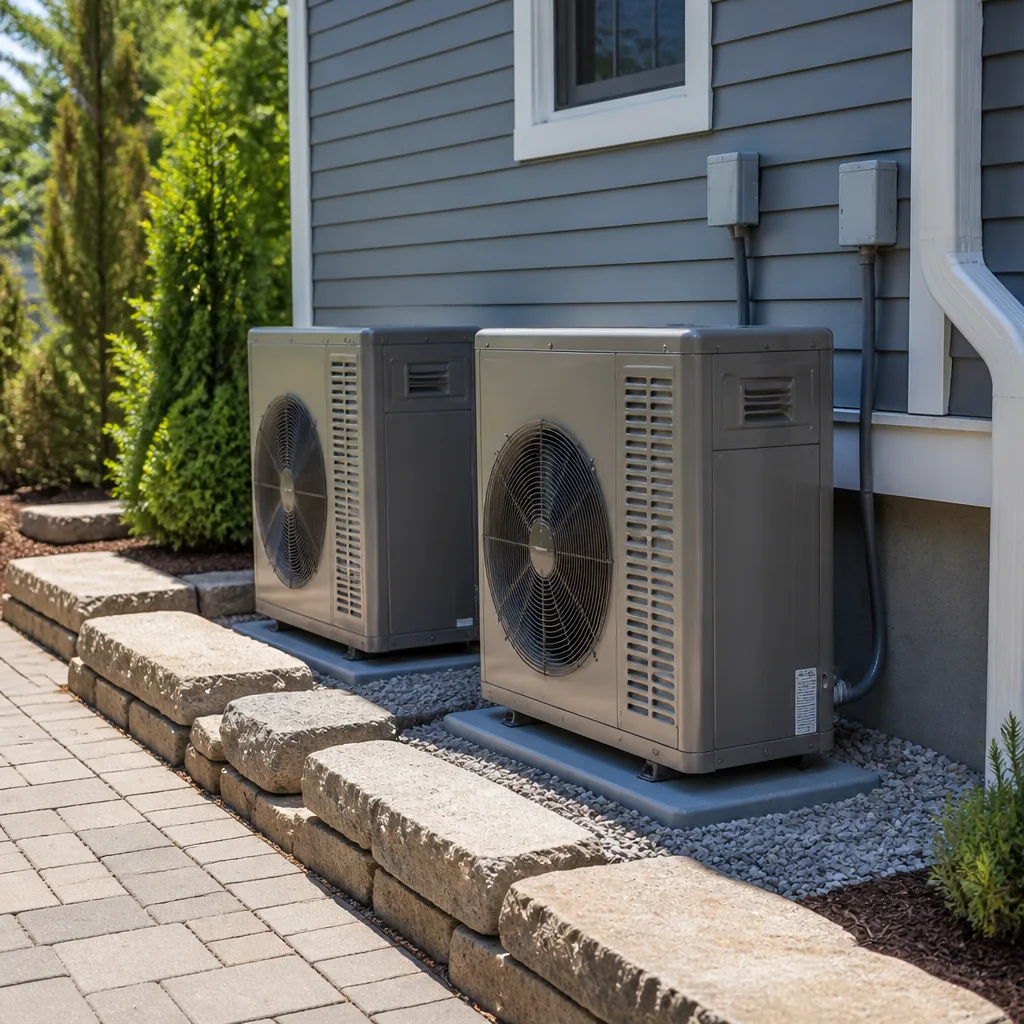 Heat pumps
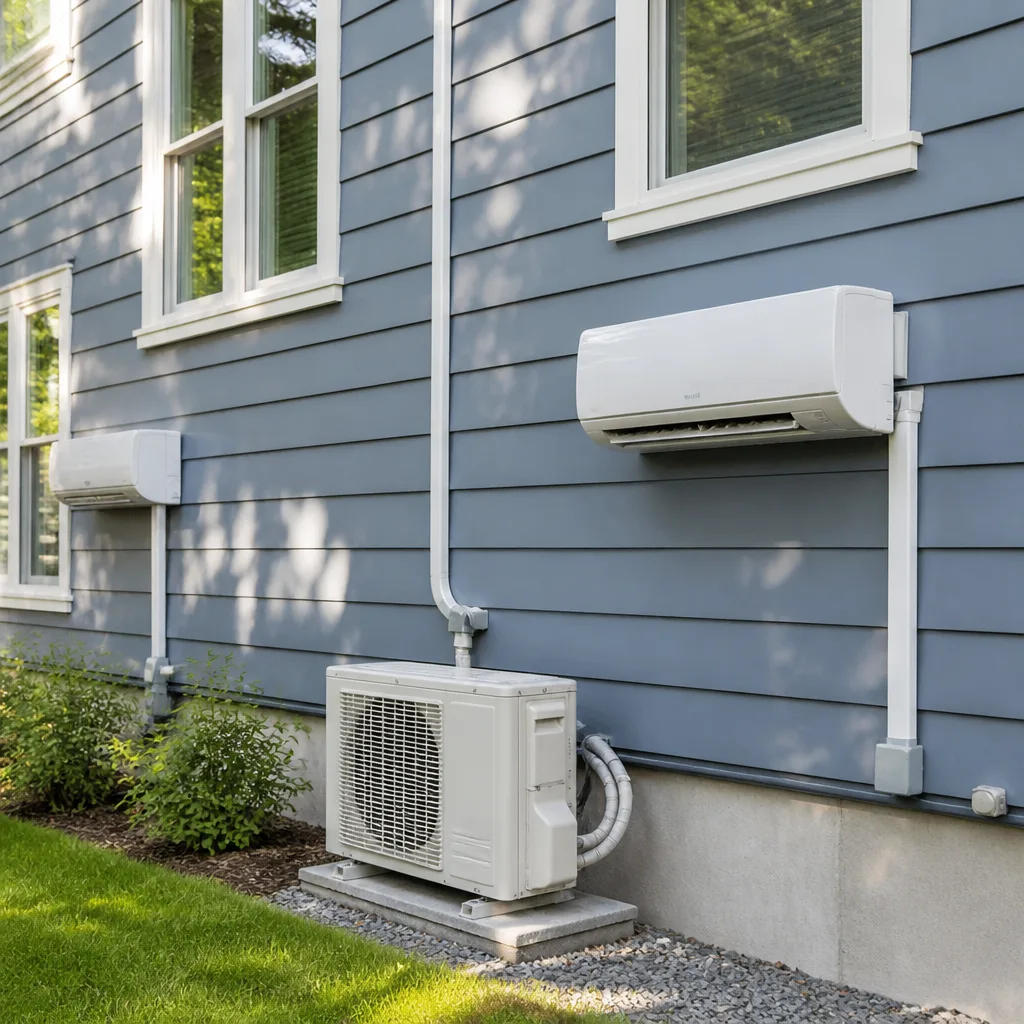 Ductless mini splits
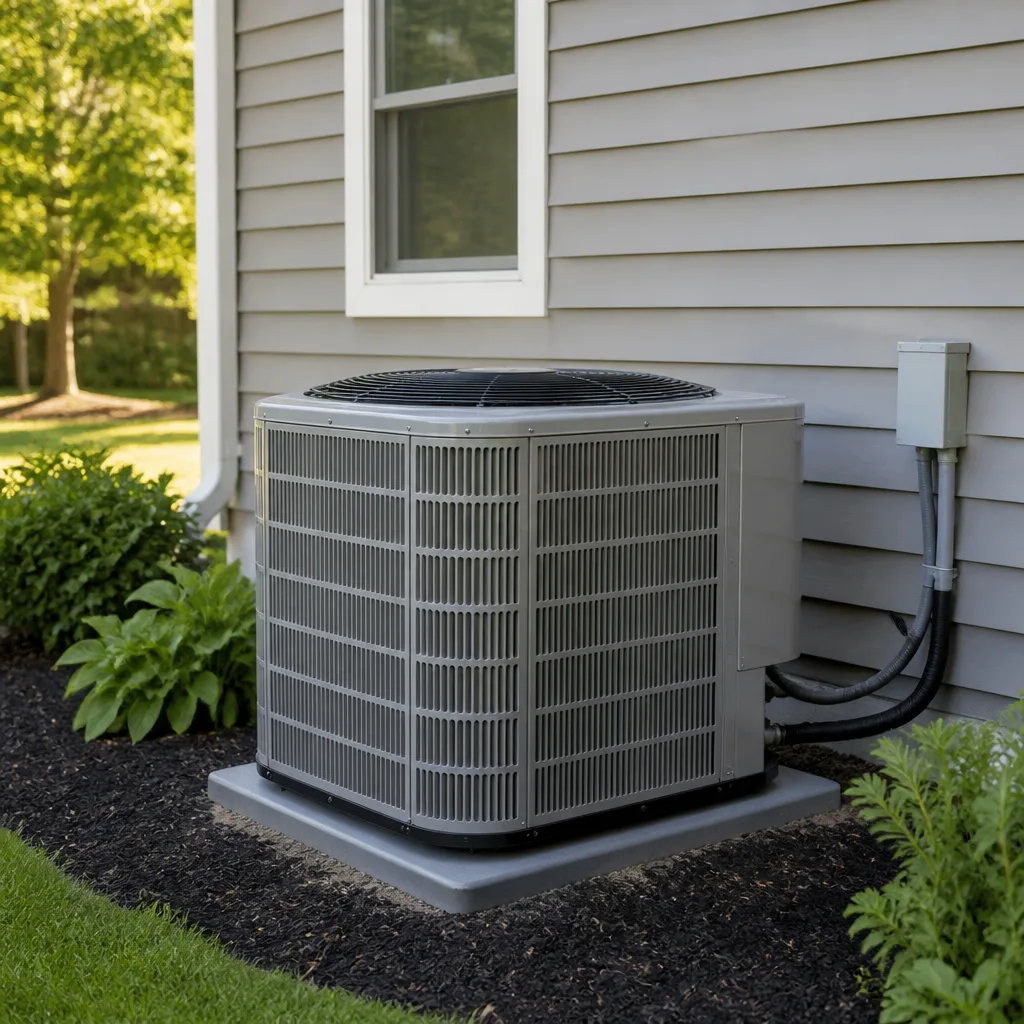 Carrier
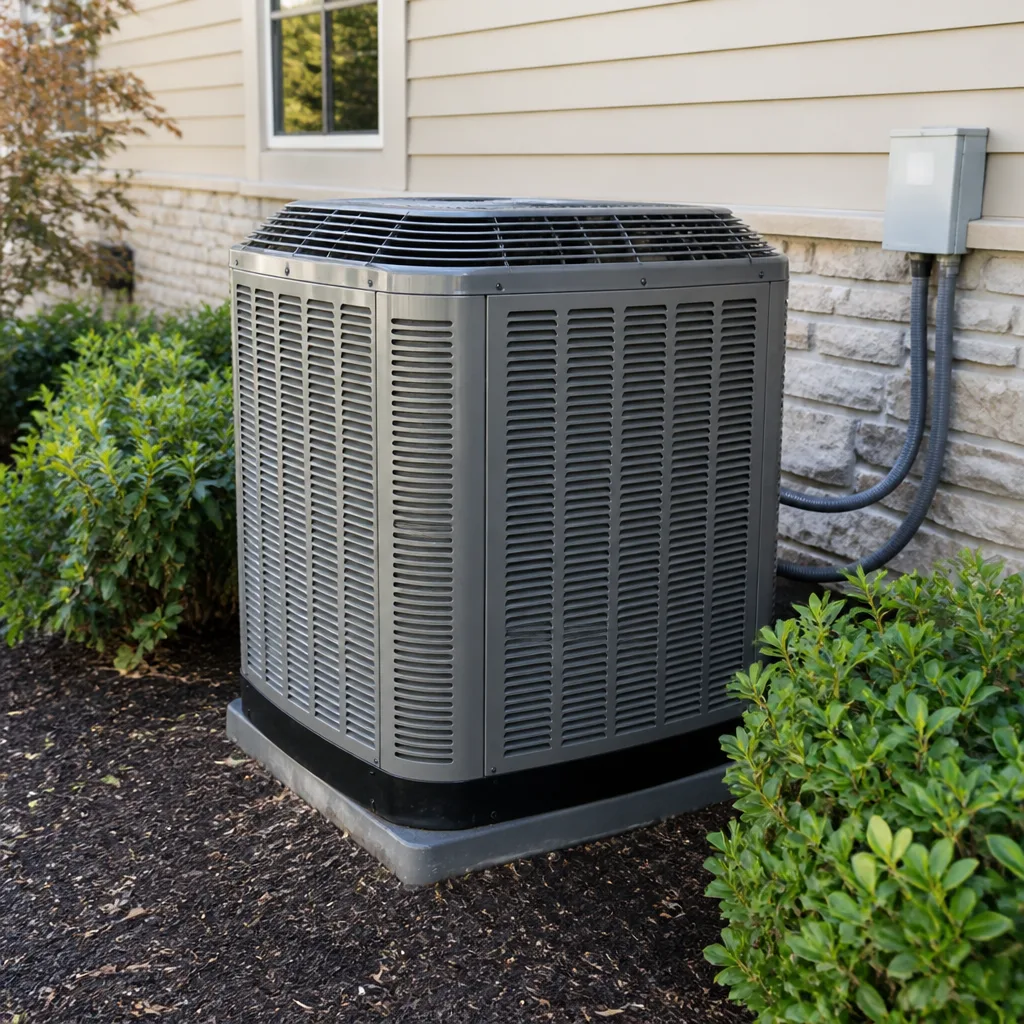 Trane
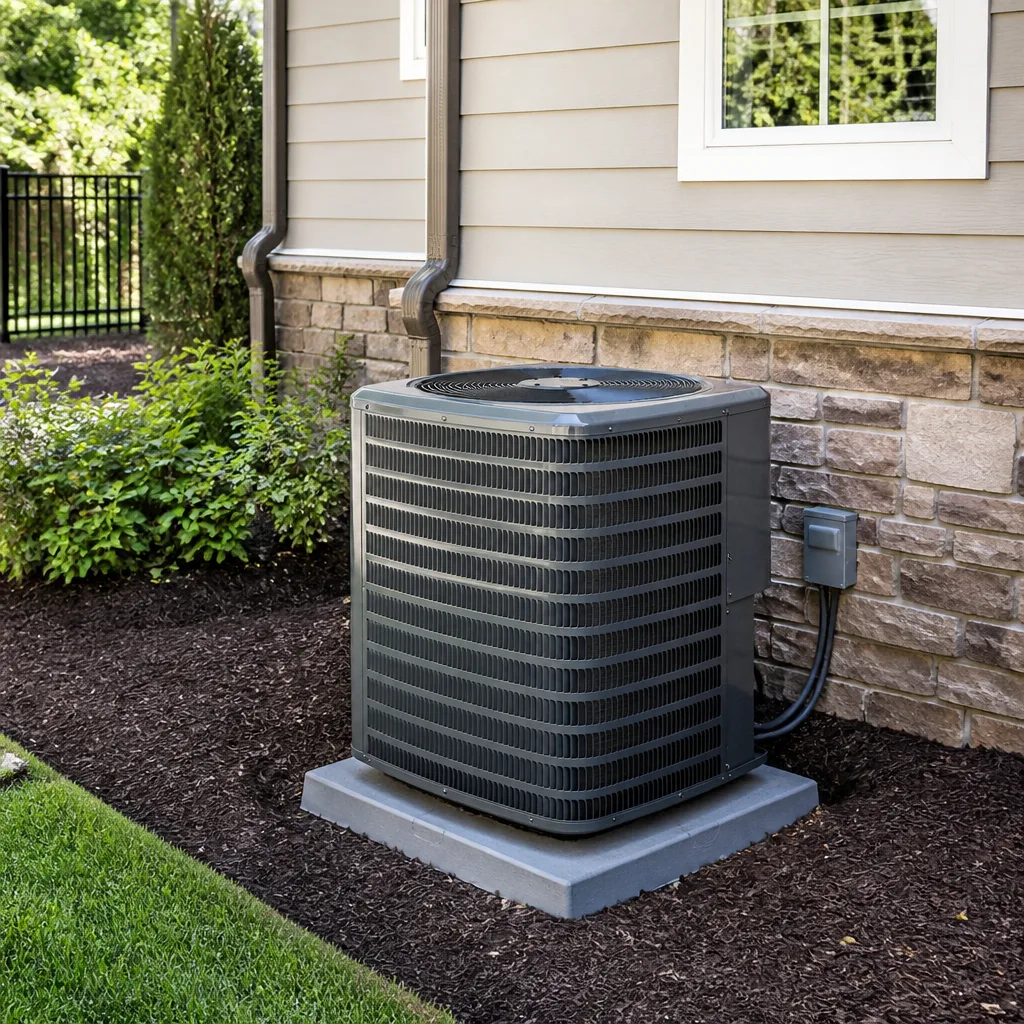 Goodman
Seasonal tune-up and full diagnostic on your Carrier, Trane, or Goodman system - readings shown to you before any repair is proposed
Diagnosis first, numbers second - you approve the repair price before a single part goes in.
Get your free estimateFurnace Replacement Maintenance Checklist for West Valley City Homeowners
A brand-new high-efficiency furnace installed into an unmodified 1980s duct system will often underperform a mid-efficiency unit sitting in properly sized ducts. That’s the uncomfortable truth most replacement quotes never mention. Homeowners in West Valley City shop furnaces the way they shop refrigerators: compare the box, compare the price, pick one. But the furnace is only one part of a system, and the ducts, combustion air, and venting around it decide how much of that new equipment’s rated capacity ever reaches your rooms. This guide walks through the checklist items that separate a real system reset from a box swap, from pre-installation testing to the numbers you should record on day one.
Styles & brands we work with
- AC repair
- Furnace & heating
- Heat pumps
- Ductless mini splits
- Carrier
- Trane
- Goodman
Quick Answer
A furnace replacement checklist for West Valley City homeowners should cover four layers: a duct leakage test before you buy, a combustion air calculation for your home’s tightness, venting material matched to the new unit and our elevation, and a city permit with a final inspection you actually attend. After installation, record static pressure, temperature rise, and gas pressure so future service calls have a baseline. Skip any of those four and the new furnace may run worse than the old one.
Table of Contents
- Why a Furnace Replacement Needs a Whole-System Checklist
- Step 1: The Pre-Replacement Duct Leakage Test
- Step 2: Combustion Air Requirements for Tight Modern Homes
- Step 3: Venting Material Compatibility for High-Efficiency Units
- Step 4: What to Verify on the City Permit and Final Inspection
- Step 5: Post-Installation Benchmarks to Record
- How Brand Choice Fits the Checklist
- Common Mistakes to Avoid
- When to Call a Professional
- Frequently Asked Questions
- The Bottom Line
Why a Furnace Replacement Needs a Whole-System Checklist
Replacement gets framed as an equipment decision. In practice it’s a system decision, and the equipment is maybe half of it. The other half lives in your attic, crawlspace, closets, and utility room: the ducts that carry the air, the pathway that feeds combustion air to the burners, the flue or PVC pipe that carries exhaust out, and the electrical and gas connections that let the unit run safely. A furnace that’s rated to deliver strong efficiency can’t deliver it if the ductwork leaks a third of the air into the attic before it reaches a register.
West Valley City homes make this point more clearly than most places. The housing stock runs from mid-century ranch homes to newer construction on the west bench, and the duct systems in each were built to different assumptions. A 1970s home built when natural gas was cheap often has undersized, unsealed, or poorly insulated ducts. A newer tight-built home has the opposite problem: so little natural air infiltration that the furnace may be starving for combustion air. Same city, opposite fixes.
There’s also the local climate. West Valley City winters are cold enough that a furnace runs most of the day for weeks at a stretch, then swings into dry spring and hot summer. That’s a lot of duty cycle on the heat exchanger and a lot of thermal cycling on the ducts. A furnace that only has to run in a mild climate gets more slack; ours doesn’t. The checklist in this guide is built around that reality.
The best way to think about replacement is that you’re resetting the whole heating system, not just the box. That’s how we approach furnace repair too: find the actual failure before touching the equipment, because the equipment is rarely the whole story.
Step 1: The Pre-Replacement Duct Leakage Test
A duct leakage test before replacement tells you how much of the air your furnace produces actually reaches your rooms. In most West Valley City homes, it’s the single most useful number you can know before signing a replacement contract. The test is done with a calibrated fan and pressure gauge, either at the air handler or at the registers, and it produces a leakage figure in cubic feet per minute. If the number is high, you have a choice: seal the ducts as part of the job, or size the new equipment with the leaks in mind. Both are valid. Ignoring the leaks is not.
Utah’s energy code has moved in the direction of requiring duct leakage testing on new and replacement installations in many cases, and most local inspectors will ask about it on a replacement permit. Rather than argue the code section, the practical advice is this: assume a leakage test will be part of a properly permitted job, and ask upfront whether your contractor includes it. If the answer is a shrug, that’s information.
The real-world argument is stronger than the code argument. A leaking supply duct that dumps heated air into an attic loses that heat entirely, and a leaking return duct in a crawlspace pulls cold, dusty, sometimes moist air back into the system. You pay for that twice: once in gas, once in comfort. New equipment only fixes that if the ducts are addressed at the same time.
- Ask for the leakage number in writing. A specific figure, not “the ducts look okay.”
- Ask whether sealing is included in the quote. If not, ask what it would cost to add.
- Inspect accessible ducts yourself. Disconnected flex runs, crushed sections, and torn insulation are visible to a careful homeowner.
- Note where ducts run through unconditioned space. Attic and crawlspace runs are the leaks that cost the most.
If the leakage test comes back high and the ducts are in bad shape, the honest answer may be that the new furnace should wait. Sealing first, then replacing, usually produces the better result. That’s the kind of sequencing a specialist should be willing to discuss without steering you toward the bigger invoice.
Step 2: Combustion Air Requirements for Tight Modern Homes
Combustion air is the air that feeds the burner flame, and every gas furnace needs a steady supply of it. In older leaky homes, that air came in through gaps around windows and doors without anyone thinking about it. In newer, tighter West Valley City homes, or older homes that have been re-sided, re-windowed, and insulated over the years, there may not be enough natural infiltration to supply the furnace, the water heater, and the range hood at the same time. When that happens, the furnace can backdraft combustion gases into the home, and that’s a health and safety problem, not just a performance one.
The fix isn’t complicated. A proper installation includes a combustion air calculation based on the volume of the mechanical space, the input rating of the appliances in it, and the tightness of the building. If the calculation shows a shortfall, the installer adds combustion air openings or a ducted intake from outside. Skipping the calculation and hoping is what gets homeowners into trouble later.
The signs of a combustion air shortfall aren’t subtle once you know them:
- A burner flame that rolls or lifts when the kitchen exhaust fan runs.
- Flue gases spilling from the draft hood instead of rising up the flue.
- Soot on the burners or the heat exchanger face.
- Headaches or stuffiness in rooms near the furnace during cold snaps.
- Condensation on cold windows near the furnace area.
Any of those warrant a professional look right away. Carbon monoxide is colorless and odorless, and a properly running furnace should never produce the symptoms above. A trained technician will test combustion air during the replacement assessment, and the calculation should show up in the bid.
Step 3: Venting Material Compatibility for High-Efficiency Units
High-efficiency condensing furnaces vent through plastic pipe, not a metal flue, and the specific plastic matters. Many units are approved for Schedule 40 PVC in certain vent lengths, some manufacturers approve or require CPVC for the exhaust section because the flue gases come off the heat exchanger hotter than PVC’s rating allows in some configurations, and some units specify a stainless steel vent for the first section off the furnace. The wrong material in the wrong spot is a code failure at best and a safety failure at worst.
West Valley City’s elevation adds a wrinkle. The whole valley sits above 4,000 feet, and at higher elevations air is thinner, which affects combustion and can affect how a venting manufacturer rates its pipe lengths. Some venting products are approved for a maximum vent length, but that length has to be corrected for altitude. A contractor who copied a number from a sea-level installation manual and applied it here is cutting a corner.
Before the install, verify these venting items in writing:
- The new unit’s venting specification. Pull the installation manual page that lists approved materials and maximum vent length for the model being installed.
- The altitude correction. Confirm the venting length was adjusted for our elevation, not taken from the chart as-is.
- The existing vent transition. If the old furnace vented through a metal flue and the new one vents through PVC, the flue has to be decommissioned properly, not left attached and unused.
- The exterior terminations. The intake and exhaust terminations must meet clearances from windows, doors, and the gas meter, and the exhaust must slope correctly back toward the furnace for condensate drainage.
- Condensate management. Condensing furnaces produce liquid water, so the drain line needs a proper slope, a trap, and a place to go that won’t freeze in a West Valley City winter.
Venting is one of those items nobody notices until it fails an inspection or, worse, leaks carbon monoxide into the house. It’s worth confirming on the bid, not after.
Step 4: What to Verify on the City Permit and Final Inspection
A furnace replacement is permitted work in West Valley City, and a properly handled permit is one of the clearest signals a contractor is operating legitimately. Pulling the permit is the contractor’s job, but verifying it is yours. Ask for the permit number once it’s pulled, and cross-check the address and scope on it against what you’re paying for. A “replacement” permit that lists a smaller unit than what’s actually installed is a red flag.
Final inspection is the checkpoint most homeowners skip. It’s tempting to let it slide, or to rely on the contractor telling you it “went fine.” Don’t. Be present, or at least ask for the inspection card and the signed-off record.
Here’s what the inspector is typically looking at, and what you should confirm too:
- Equipment match. The installed furnace model and rated input match the permit.
- Venting. Material, slope, terminations, and altitude rating as discussed above.
- Combustion air. Openings or ducting sized and installed to code for the appliances in the space.
- Gas piping. Leak-tested and sized for the new input rating, not the old one.
- Electrical. Proper disconnect, correct breaker, and a dedicated circuit where required.
- Condensate. Drain line, trap, and termination for a condensing unit.
- Duct connections at the plenum. Sealed and mechanically secured.
- Clearances. Combustible clearance to the furnace cabinet, flue, and water heater.
If the inspector writes anything up, get the contractor’s plan to fix it in writing before you make the final payment. A signed final inspection is the closing document on a replacement. Treat it that way.
Step 5: Post-Installation Benchmarks to Record
Within the first week after installation, write down four numbers with a date. These become your baseline for every future service call, and they’re the numbers a technician will ask for when something seems off. Without them, a future issue is diagnosed from scratch. With them, a shifting trend shows the technician exactly where to look.
- Static pressure at the supply and return plenums. This tells you how hard the blower is working against the duct resistance. Rising static pressure over time usually means filters, coils, or duct issues.
- Temperature rise across the heat exchanger. The contractor should measure the return air temperature and the supply air temperature while the furnace is running. The difference should match the unit’s rated range for the airflow setting. Rising rise means restricted airflow; falling rise can mean a gas or combustion issue.
- Gas pressure at the manifold and the inlet. A small change over time can indicate a utility pressure issue or a failing gas valve.
- Combustion analysis numbers, if the contractor has the tool. Carbon monoxide reading, oxygen, and efficiency are all useful to track.
Ask the installing contractor for those numbers in writing when the job closes out. A contractor who does this routinely will have them without asking; one who doesn’t may say the numbers aren’t standard. They are, on any properly commissioned install.
Keep that sheet near the furnace. It’s the single most useful piece of paper you’ll have for the next fifteen years of the system’s life, more useful than the warranty paperwork, because warranties only cover the box and this covers how it’s actually running.
How Brand Choice Fits the Checklist
Brand matters, but it’s the last question, not the first. Once the duct leakage, combustion air, venting, and permit items are covered, the brand becomes a matter of the equipment that best matches your home’s heat load, your budget, and what’s installed nearby for service compatibility. A Trane or a Lennox unit that’s properly sized and commissioned will outperform a different brand that isn’t, every time. So will a Goodman or a Rheem installed with the same care.
That’s the reason Oakridge AC Repair works on the brand you already have, and on nine of the industry’s most recognized names: Carrier, Trane, Lennox, Goodman, Rheem, York, Daikin, Bryant, and American Standard. Brand-neutral advice means the right system for your home wins, not the one with the fattest dealer margin. If a contractor only sells one brand, that’s not a compatibility issue, but it is a limit you should know about before signing. For homeowners in West Valley City, having a specialist who can compare systems across multiple manufacturers is worth more than a single-brand discount.
Common Mistakes to Avoid
- Skipping the duct leakage test. Replacing a furnace without knowing the leakage figure is like upgrading the engine and ignoring the transmission. You’ll pay full price for a system that can’t move air efficiently, and you’ll never know why the bills stayed high.
- Assuming the old venting will work. A mid-efficiency metal flue is not the right venting for a high-efficiency PVC unit. Reusing the old flue is one of the most common installation failures, and it’s an inspection failure on a West Valley City permit.
- Ignoring combustion air in a modern home. Tighter houses have less natural infiltration, and that’s fine for the furnace’s supply air but not for its combustion air. Skipping the calculation can lead to backdrafting and carbon monoxide risk.
- Accepting a bid with no permit mentioned. A bid that doesn’t reference a permit, inspection, or duct leakage test isn’t a full bid. It’s a quote for a box.
- Not recording the baseline numbers. Homeowners who record static pressure, temperature rise, gas pressure, and combustion readings at install save diagnostic time on every future service call. Owners who don’t start from zero each time.
- Trusting a quoted efficiency number on its own. The AFUE rating on the box assumes proper installation. In a leaking duct system, an AFUE-rated high-efficiency furnace can perform like a lower-efficiency unit, and the box number won’t tell you that.
- Letting the mention of altitude go unaddressed. Venting approvals and combustion settings are both affected by our elevation. An installer who didn’t ask about it during the assessment probably didn’t account for it in the installation.
When to Call a Professional
Call a professional when any of the following is true. The furnace is more than fifteen years old and the heat exchanger has not been inspected recently. The burner flame has changed color or shape. The flue spills when the kitchen or bath fan runs. Your carbon monoxide alarm has gone off, in which case leave the house and call from outside. A contractor quoted a replacement without a duct leakage test, combustion air calculation, or permit. You smell gas. Or, less urgently but just as important, you’re planning a replacement and want the checklist items handled before the equipment goes in, not after. Oakridge AC Repair offers free estimates in West Valley City; call (844) 945-2917. We answer 24/7. Fast dispatch from 7am to 7pm, Sunday through Friday. Our technicians have up to 9 years of experience, and when the right answer is AC installation alongside the furnace work, we handle both under one roof.
Frequently Asked Questions
Yes, if you want the new furnace to actually perform better than the old one. The leakage test tells you how much heated air is leaking into unconditioned space before it reaches your rooms, and that number determines whether the new equipment’s efficiency ever gets delivered. Ask for the figure in writing and ask whether sealing is part of the quote. Call (844) 945-2917 for a free estimate on the full replacement plus duct work.
Most high-efficiency furnaces vent through Schedule 40 PVC, with some models requiring CPVC or a stainless steel first section depending on flue gas temperature. At our elevation above 4,000 feet, the manufacturer’s maximum vent length has to be corrected for altitude, so the installer should not use the sea-level chart. Confirm the exact material list and length in writing before the install begins. Call (844) 945-2917 for a free estimate.
You know by calculation, not inspection. The installer measures the volume of the mechanical space, adds up the input ratings of the appliances in it, and compares that against the building tightness to determine whether combustion air openings are needed. Signs of a shortfall include a flame that lifts when exhaust fans run, soot on the burners, or a flue that spills. If you see any of those, call (844) 945-2917. We answer 24/7.
Age, heat exchanger condition, and repair history decide it. A furnace over fifteen years old with a cracked heat exchanger, or one that’s had repeated repairs in a short stretch, is usually better replaced. A younger unit with a single failed component is usually better repaired, and a good technician will tell you which one applies to your system without steering you toward the bigger invoice. Call (844) 945-2917 for a free estimate.
Same-day service is often possible on furnace failures, especially in cold snaps when a failed system becomes a health risk. Call (844) 945-2917. We answer 24/7. Fast dispatch from 7am to 7pm, Sunday through Friday. A call outside dispatch hours is booked into the next opening.
Record the static pressure at the supply and return plenums, the temperature rise across the heat exchanger, the gas pressure at the manifold and inlet, and the combustion analysis numbers if your contractor measures them. Get those values in writing with a date. They become the baseline for every future service call, and they turn a vague “it doesn’t feel right” into a diagnostic lead. Call (844) 945-2917 for a free estimate.
The Bottom Line
Furnace replacement works best when it’s treated as a whole-system reset, not a piece of equipment swapped into place. The checklist that determines whether your new furnace actually performs comes down to duct leakage testing before the purchase, combustion air calculation for your specific home tightness, venting materials matched to the new unit and our elevation, a city permit with a final inspection you verify, and a set of benchmark numbers recorded on day one. Handle those five items and the equipment brand becomes the last question instead of the first. Skip them and the new furnace may run worse than the old one did.
If you’re planning a furnace replacement in West Valley City and want the whole checklist handled by a specialist who works across the brands you already know, call Oakridge AC Repair at (844) 945-2917 for a free estimate. We answer 24/7. Fast dispatch from 7am to 7pm, Sunday through Friday.
Written by the team at Oakridge AC Repair.
See the difference
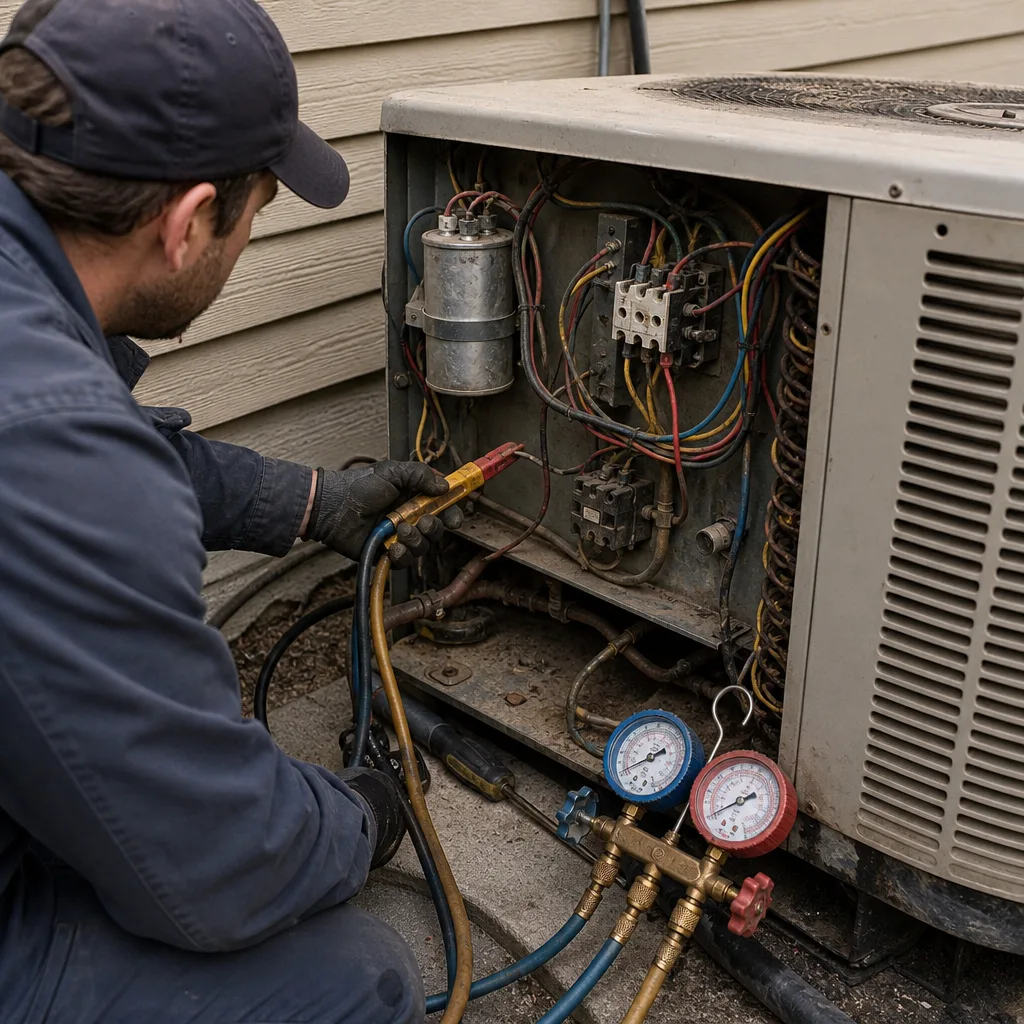 Before
 After
 Before
 After
 Before
 After